 |
So you're getting a Spa Relax!
Setup is really no big deal, if you do a little
advance planning and preparation. We'll show you
what you need to do to make your installation as
smooth as possible. Also, be sure to read your
entire owner's manual, prior to installation. |
Site Selection
You may already have a special
indoor or outdoor spot picked out for your new hot tub,
whether it be a lightweight soft spa such as hot tub, or a
larger model such as Hot tub or full-sized hot tub.
Regardless, it is your responsibility to make sure the site
is properly prepared, whether on the ground, on a floor,
deck, patio or slab.
All of the spas are designed for
either outdoor or indoor installation, although most people
prefer outdoors. Make sure that you observe the following:
- Since a filled spa will have
considerable weight, make sure it is placed on a
structurally-sound surface which will support the weight
of the spa, water, and occupants. Uneven and unsound
surfaces can damage the spa and void your warranty.
- If outdoors, make sure that the
site has adequate drainage so that rainwater will not be
able to pool around the spa.
- Level the surface before
filling spa with water.
- Plan in advance for proper
access to power source and circuit panels.
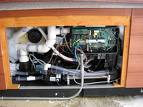
- Leave access to the hot tub's
removable equipment compartment panel for future service
needs.
Preparing an Outdoor Site
Most spa owners will put their new
spas outdoors. Here we describe various options to
provide a firm level surface, unless you already have a
suitable existing patio. Keep in mind that installing
your spa on the ground without a perimeter boardwalk, paver
stone, concrete sidewalk or other suitable walkway will
result in an increase in the amount of debris that is
inadvertently brought into the hot tub on user's feet.
A perimeter walkway can of course be added later.
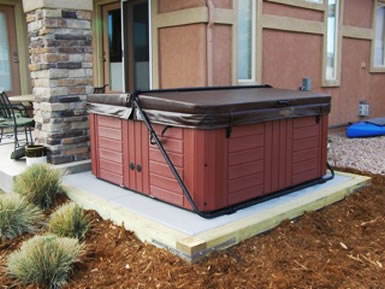
Prefabricated Spa Pads
 |
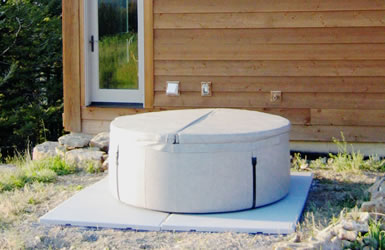
EZ Pad are a great
alternative to poured concrete, and provide a very
attractive base. This superb inter-locking pad
system is quick and easy to set up,
maintenance-free, and can be a lot less expensive
than other systems. |
| |
The pads interlock to make
a rigid base for your hot tub. Unlike poured
concrete, the base can be easily removed later if
desired.
Each pad measures 32" x 48" and are sold in
cartons of three pads each. Six pads (2 cartons)
make an 8' x 8' platform.
|
 |
|
Gravel Base
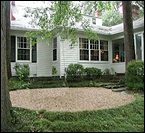 |
Gravel or crushed rock is one of the least
expensive materials for a spa base. Be sure that
the ground underneath is properly compacted to
prevent future settling, level, and that rainwater
drainage is considered. An access walkway of
stepping stones is a nice finishing touch. |
Poured Concrete Slab
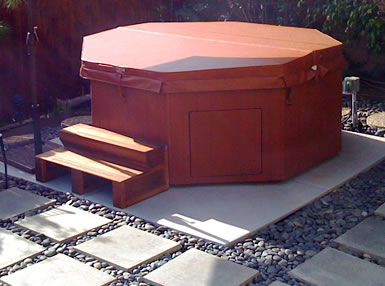
Paver Stone
 |
 |
Concrete pavers are a
beautiful base material, available in a wide array
of choices. Whether you do-it-yourself, or hire a
landscaping contractor, make certain that the base
is prepared according to the stone manufacturer's
specifications and leveled to ensure a stable
foundation. |
 |
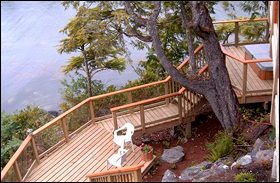
Deck Installations
| If you plan a deck site, you must
first determine the deck's maximum load capacity.
Consult with a qualified building contractor or
structural engineer before placing your hot tub on
an elevated deck. The manufacturer of your spa can
give you its filled weight. Remember to also add
the weight of the occupants. The spa's weight per
square foot must not exceed the rated capacity of
the structure to avoid damage and possible injury. |
|
 |
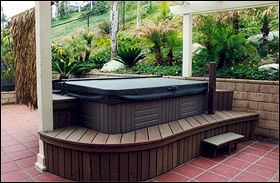
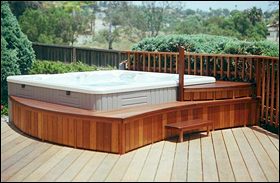
Deck designs and configurations are
limited only by one's imagination. Set-top deck
installations are best because they allow easy access to the
spa cabinet for cleaning and maintenance. If you
decide to build a deck around your hot tub, be sure to allow
for access to the equipment compartment panel so that future
service is not hindered.
Indoor Spa Setup
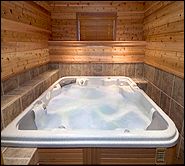
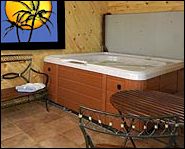
| Indoor installations have special
considerations. The room should be properly
ventilated to allow moisture to escape. Using your
hot tub for 15 minutes releases the equivalent water
vapor as a shower of the same duration.
Installation of a bathroom fan or other venting
system is a good idea to prevent excess condensation
in the room.
Unless placing the spa on a suitable concrete
slab, you will need to verify that the supporting
floor structure will accommodate the filled weight
of the spa with occupants. A qualified
contractor or a structural engineer can help you
determine that requirement. Check your spa's
specifications for the estimated weight load of the
filled unit. (A gallon of water weighs approx.
8.35 lbs.)
If building a new room for the spa, a floor drain
is a good idea since water may be splashed from the
tub. Select flooring which provides a good
grip for wet feet.
|
|
 |
 |
Electrical Service Requirements
240 Volt Spas
 |
Full-sized acrylic spas are designed for the
most part to operate on hard-wired, GFCI-protected
220-240V 50 amp circuits. Some spas with multiple
pumps may require a 60 amp service. Refer to your
owner's manual for specifications. |
|
These spas must be wired by a
qualified electrician. The National Electrical
Code specifies that a manual disconnect device for
your hot tub be installed at least 5 ft. away, and
within line of sight of the spa for safety.
Consult with your local building department for
additional information.
|
 |
 |
We recommend our easy-to-install Spa
Disconnect 60A GFCI Panel. This load center will
handle 220-240V spa loads up to 60 amps (or less).
Even if you spa has a lesser load, this model will
allow the extra capacity for future upgrades.
Example: for a spa requiring a 50A service, a
standard 50A breaker would be used in the main
service panel. |
Plug-n-Play 110 Volt Spas
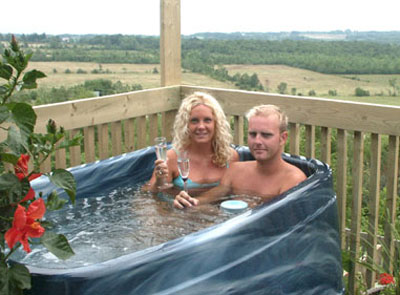
| |
|
There are quite a few
plug-n-play lightweight portable spas available
today which use standard household voltage of
110-120 volts. |
| |
|
| |
|
|
| Many plug-n-play spas operate on a standard 15
amp household circuit. These have a GFCI built into
the end of the cord, and plug right into the outlet.
Note: Dedicated
circuits are required to prevent overload.
Read your owner's manual.
|
|
 |
Getting Ready for a spa
Access for Larger Spas
Prior to the arrival of your new
spa, you should ensure that there is clear access for moving
the spa from the truck to the setup location. It may
be necessary to remove a section of fence, trim tree
branches or shrubs, move a doghouse, firewood stack or any
other protrusions that might be in the way. Check also
for overhead clearance.
Upon Arrival
 |
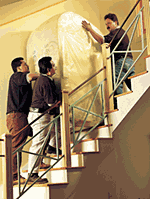
If you are receiving your spa factory-direct, it
will be shipped by truck. Normally the freight
company will contact you by phone in advance of the
delivery, to let you know the expected arrival
window. You will need to be on hand for the delivery
of the spa and it is a good idea to have a Diaz
Service crew in hand to move the spa afterwards. |
 |
Some spa are private party sold This
usually means that your spa will have to be loaded
and transported to your home . In this case, it is
usually your responsibility to move the spa. Diaz
Service will provide this service for your
convenience. |
 |
If you are replacing an existing non working
spa. Removal of the old spa can take place on the
same day that your new spa arrives to your home or
at an earlier date. The spa can be removed either by
rolling it on its side or cutting the spa each with
their own price. |
Positioning the Spa
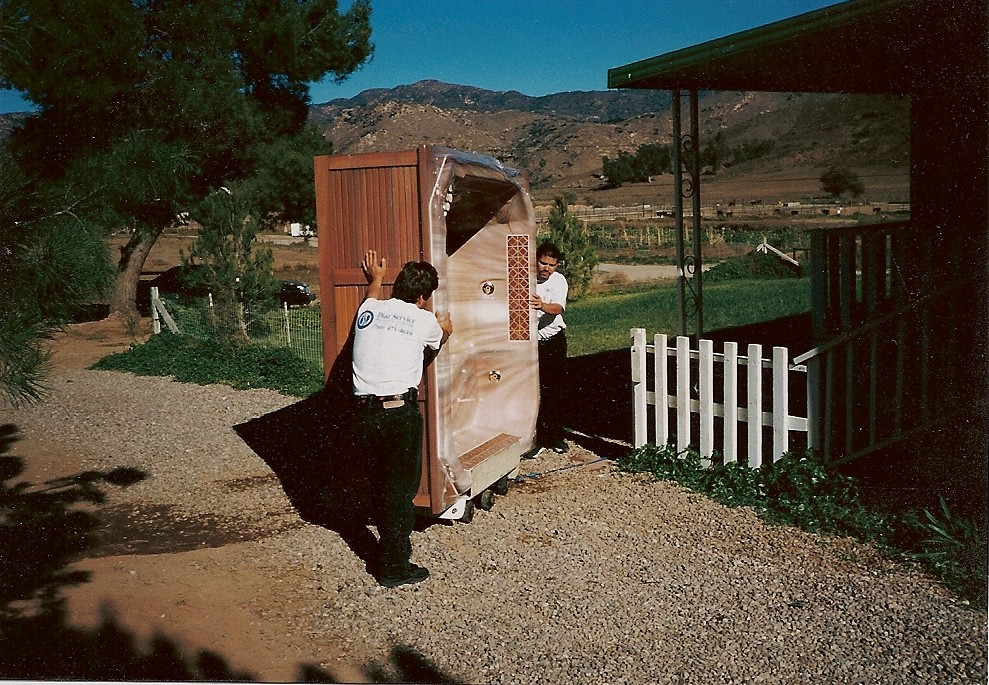 |
It's usually a moving crew that shows to move the
spa to the designated location with a
furniture dolly-- a wheeled frame with carpeted
pads. When the crew arrives they first examine the
area and look for access-then the spa is wrapped in
a stretch film plastic to ensure that no scratches
or any other damage occurs. Once that is done we
carefully place the spa on a dolly (on its side) and
roll it out on to the truck. We then strap and fully
secure the spa on to the truck bed. Once we are at
the drop-off Location we work backward on the
process just described.
|
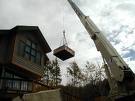 |
Although rarely needed, in
instances where the setup location of a spa is
inaccessible by normal means, a crane service can
position it.
This costs less than you might expect, often just
a few hundred dollars depending upon the job scope
and location.
|
|
Startup
With your spa in its final location and wired correctly, you
can begin with startup. Make sure you have read your owner's
manual before proceeding:
- Turn off all electrical power to the equipment at
the circuit breaker.
- Make sure that the spa's gate valves are open if so
equipped (consult owner's manual).
- Check to see that drain valve is closed.
- Clean interior of spa with suitable mild,
non-foaming, non-abrasive cleaner.
- Check to see that the filter(s) are properly seated.
- Using garden hose, fill spa with clean cold water to
level specified in owner's manual. Low water levels can
cause damage to the pump and heater element.
- Open equipment door and observe for any leaks around
union fittings. Tighten if necessary.
- Turn on power at the circuit breaker.
- Operate your spa's controls per owner's manual
instructions.
- Balance your water chemistry and use a sanitizer
system.
Heating
 |
Don't expect to immediately feel hot
water from the jets. Initially, the hot tub may
take approximately from 7-8 hours to a day to heat,
depending upon its size and other factors. |
Water Balance & Sanitizer
Nothing is more important in promoting long equipment life,
and healthy, clean, clear spa water than assuring that your
water is balanced and properly sanitized at all times. Once
you get the hang of it, it is a simple routine.
| IMPORTANT:
The information provided here is for educational
purposes only. It is neither a substitute nor a
replacement for information contained in your owners
manual. Consult with your local building
department, qualified licensed contractor, or
structural engineer for structural and electrical
requirements as appropriate. |
|


